I want to know how to can/preserve anything and everything that we eat on a regular basis (except maybe tuna and olives ;). I like being able to control what is in our food and knowing what every ingredient is, is important to me. Canning mushrooms is something that I attempted for the first time last October, but when I did it that time I used Portabello mushrooms and they were so stinky that I worried they had gone bad. Then I remembered that Portabello mushrooms smell pretty bad to begin with, and they were fine. We ate them all, but they are just not what I want to use on a regular basis. This brings us to canning these lighter mushrooms that have a much lighter taste to them and will work perfectly.
*Hey there, thanks for stopping by my website. This article is super old, so it has been archived as I no longer update it…so proceed if you wish…but it is definitely not my best work. Please stop by my home page, here, and see some of my better content. Thanks! ~Sarah*
I started out by finding a good resource that had a recipe I could work with, found here. I am just sharing some tips on the process and I hope to get you excited about canning too.
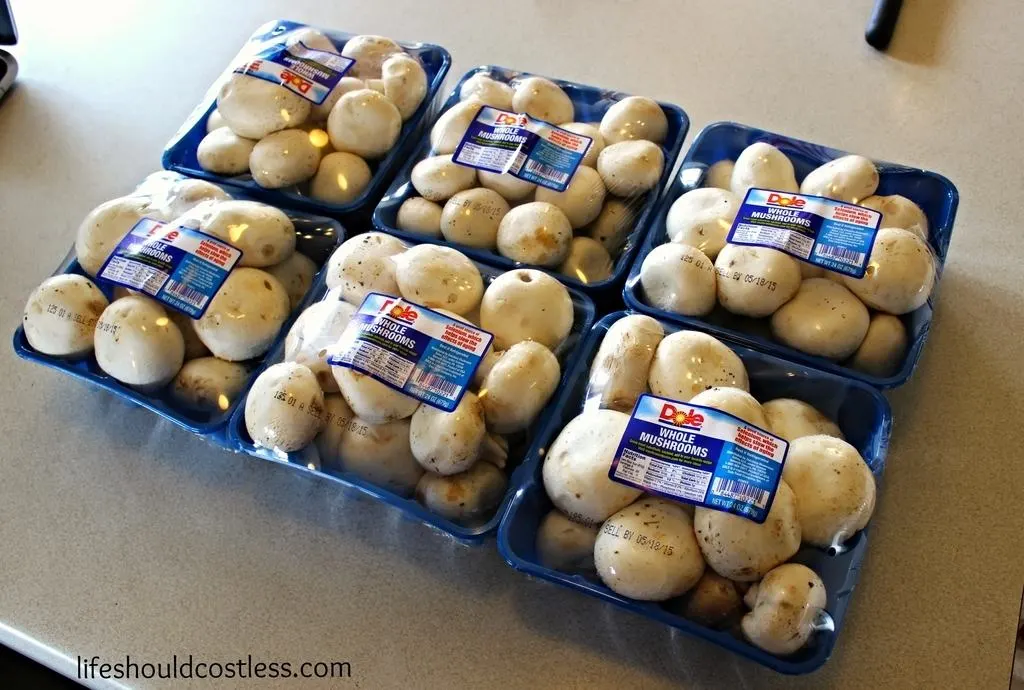
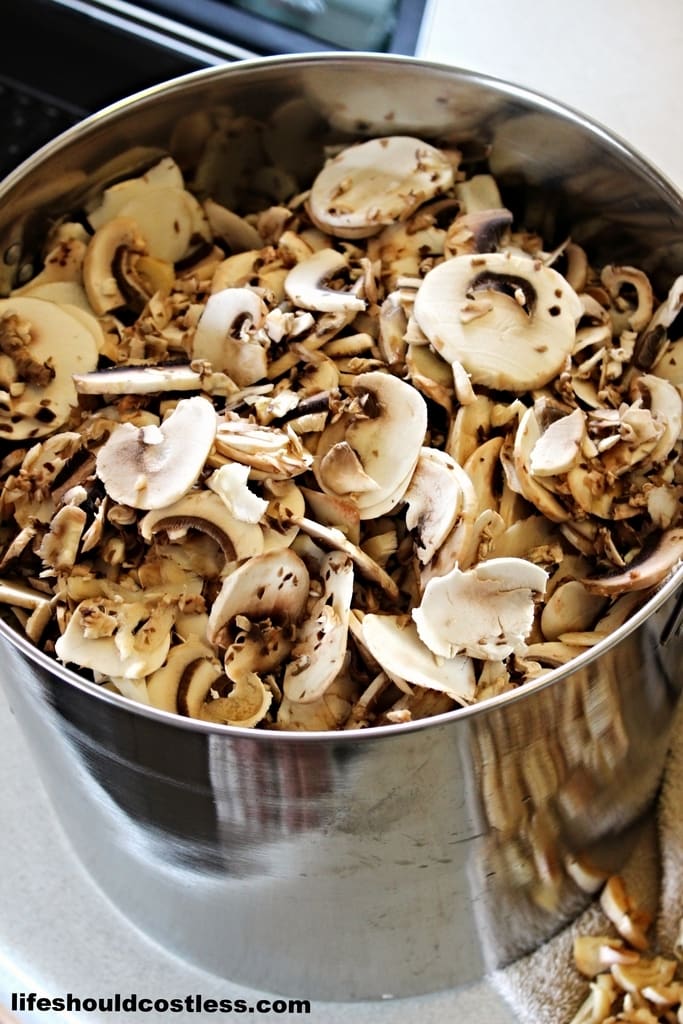
I started out with 6 packages of mushrooms from Costco (shown above) and found that they fill 24 half-pint jarsperfectly as there is a 1″ head-space required. When I had canned the portabello’s I used this size jar and it was just the right amount that we need for my family for any recipe that we may use.
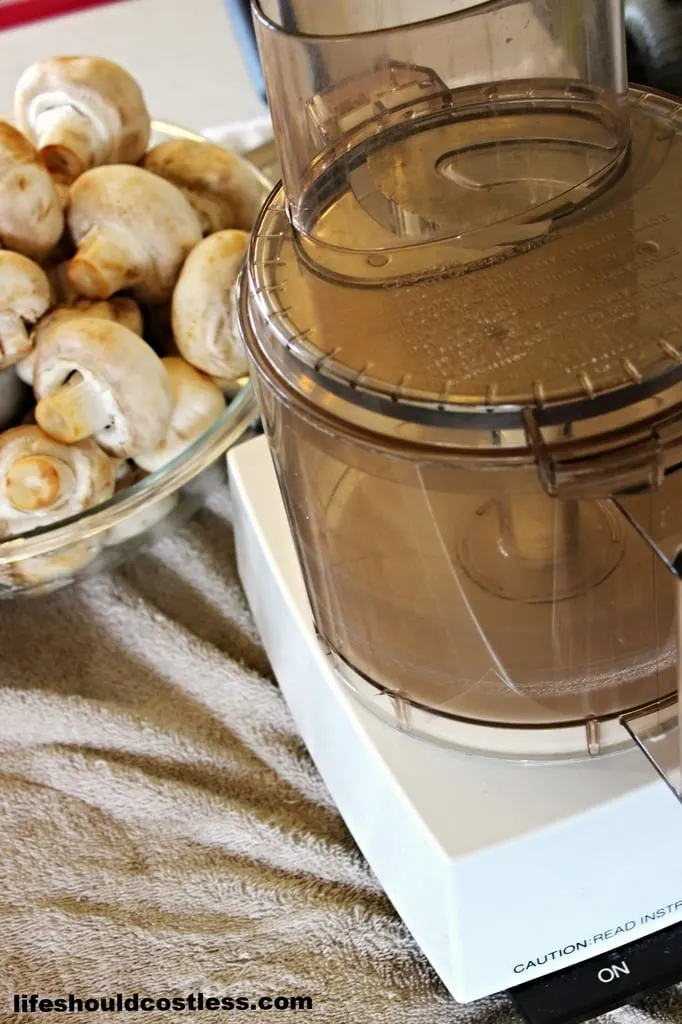
Anyway, the directions said to wash, then slice any large mushrooms. Lucky for me, ALL of the mushrooms from Costco are GINORMOUS! So once I washed them, I used the slicing blade on my food processor and it was pretty quick.
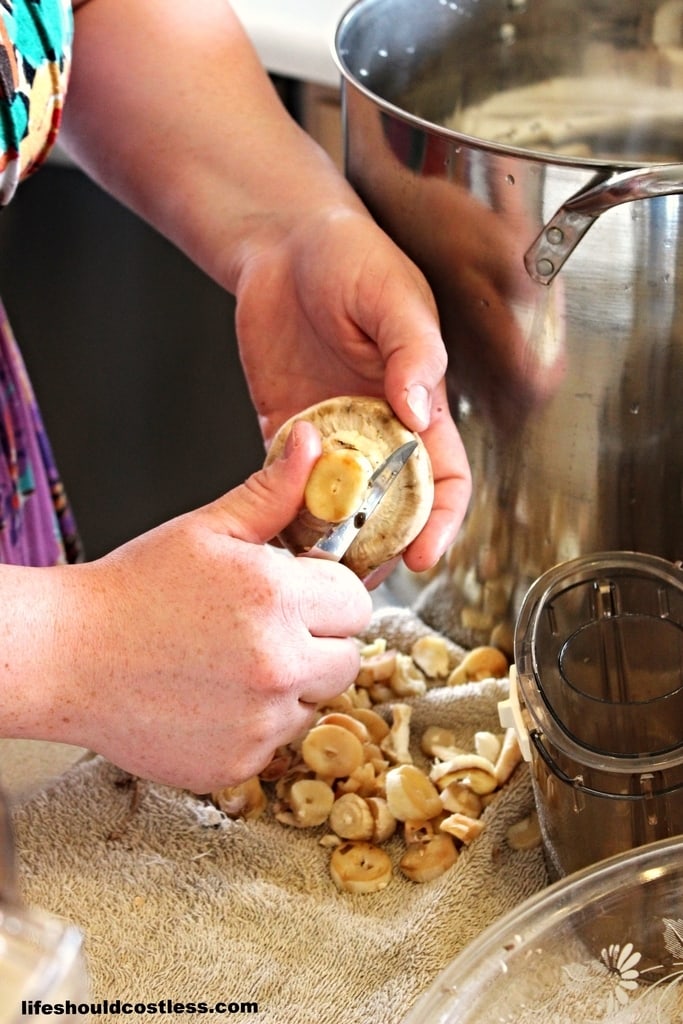
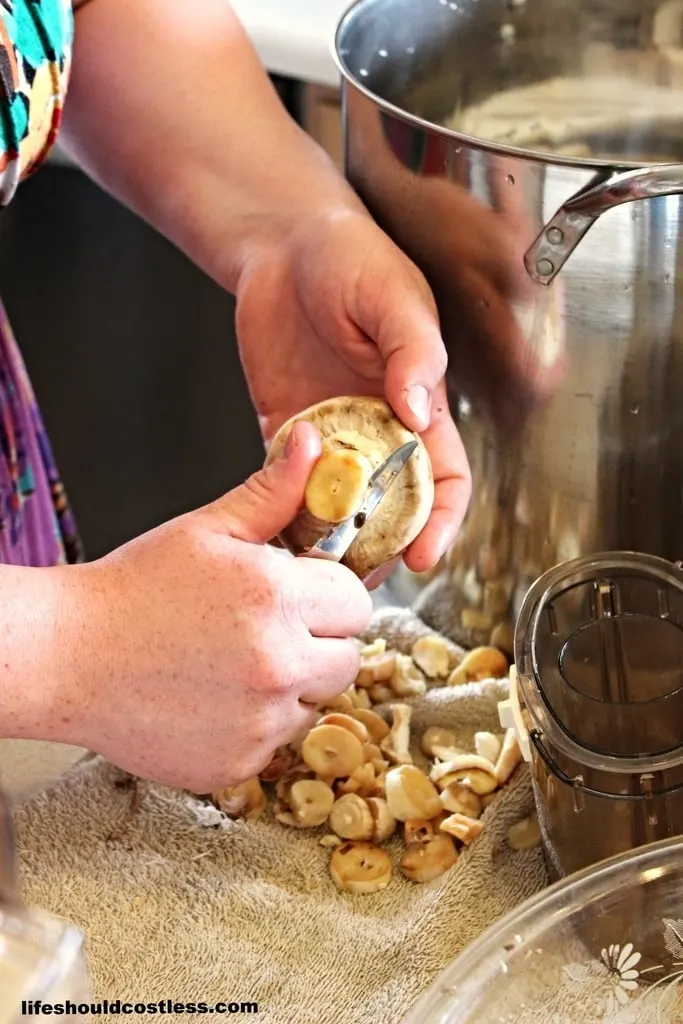
I did have to cut off the nasty looking part of the stub first though.
These mushrooms completely filled my largest stock pot.
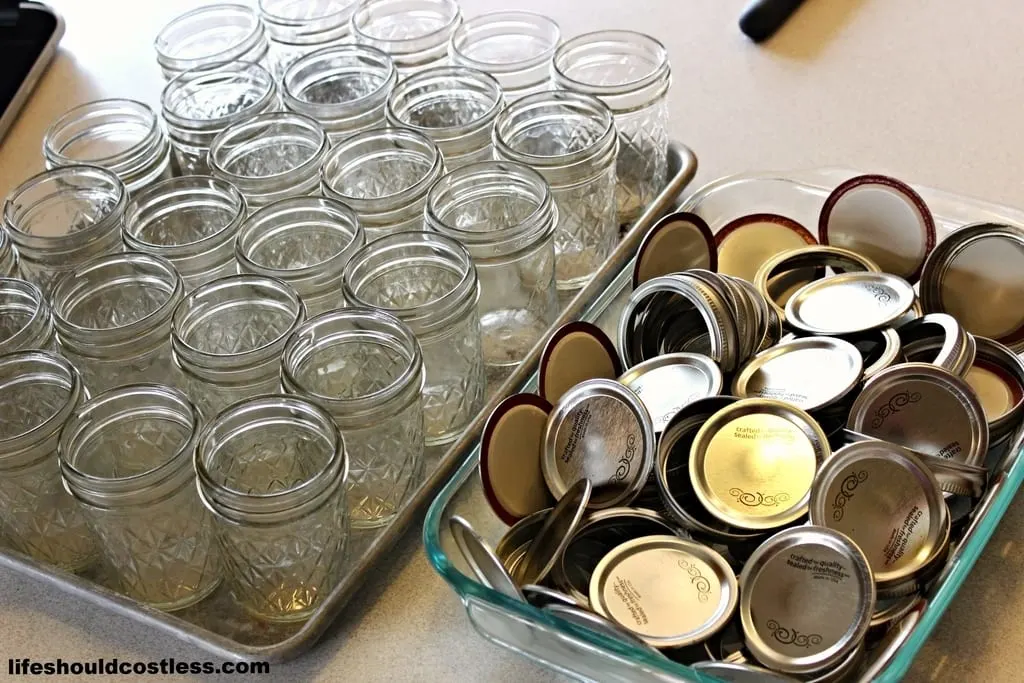
The 24 half-pint jarsall fit on a cookie sheet so they were super easy to sterilize all at once.
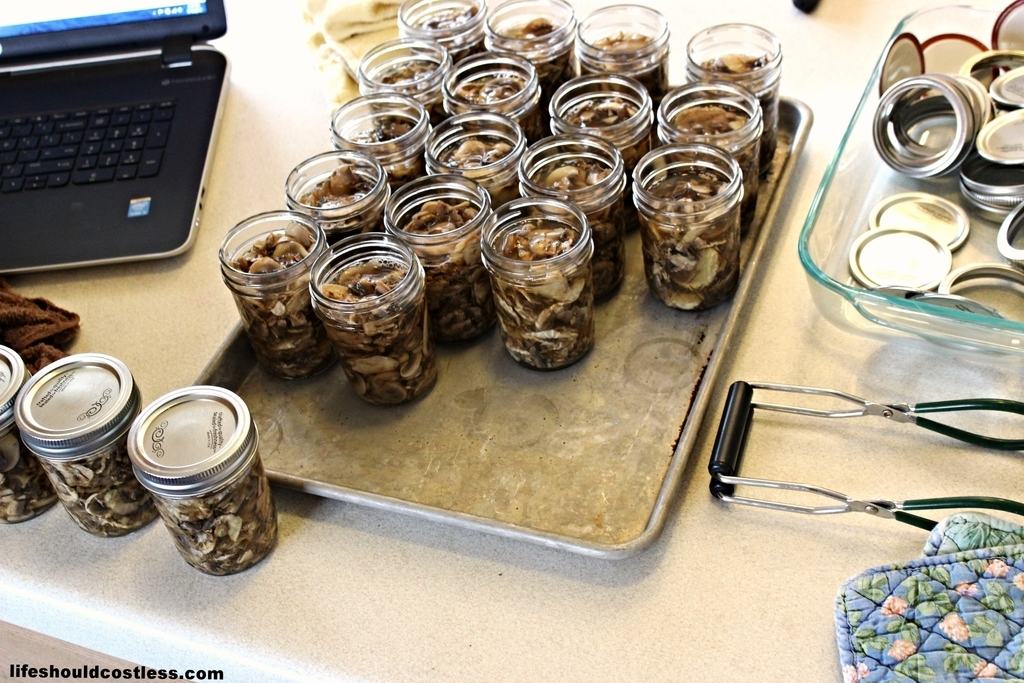
The actual process is pretty straight-forward and covered well in the directions, so I didn’t need to touch on that.
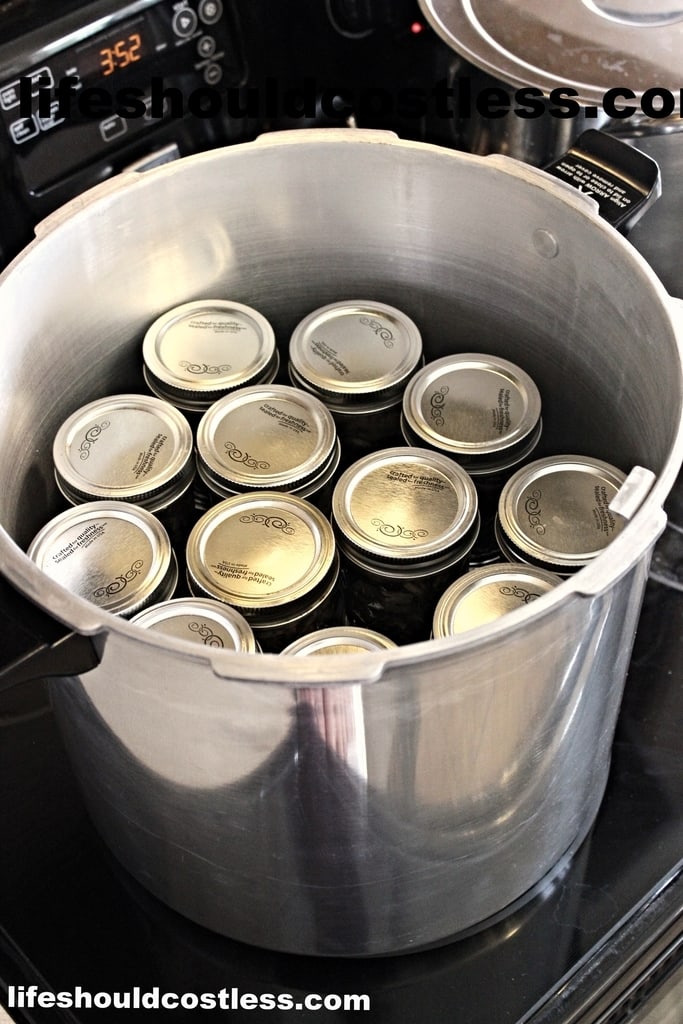
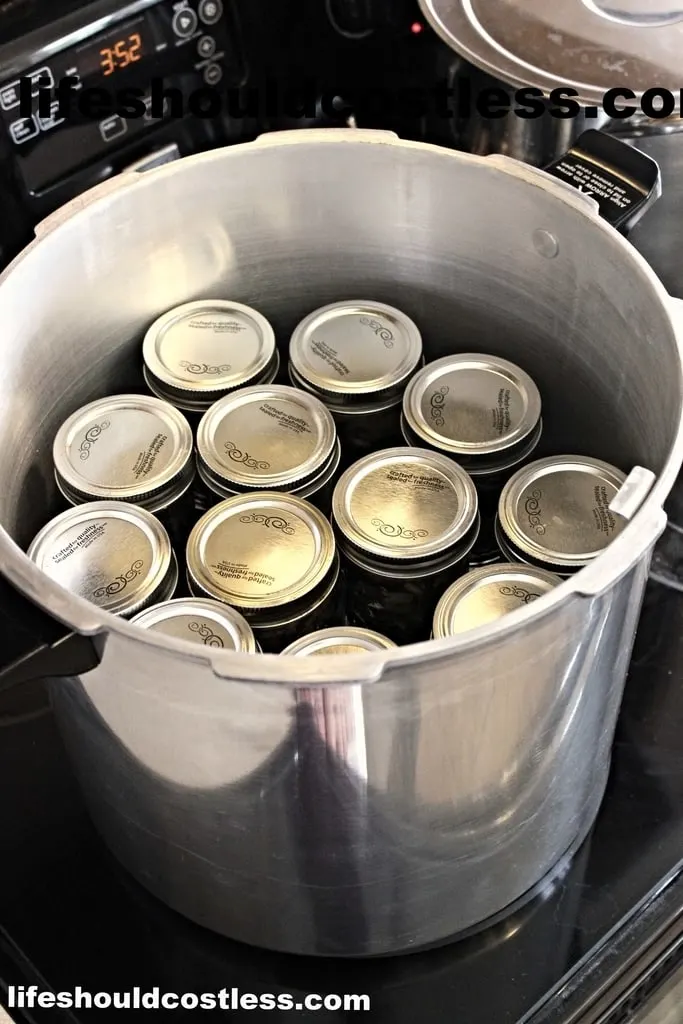
Hallelujah, they all fit in one batch! My stove is on its last leg, so it took twice as long to can these because it took an hour just for the pressure cooker to reach the right pressure. If you have been hesitant to buy a pressure cooker because they are usually so expensive, this is the one that I have (and love)and it is very reasonably priced.
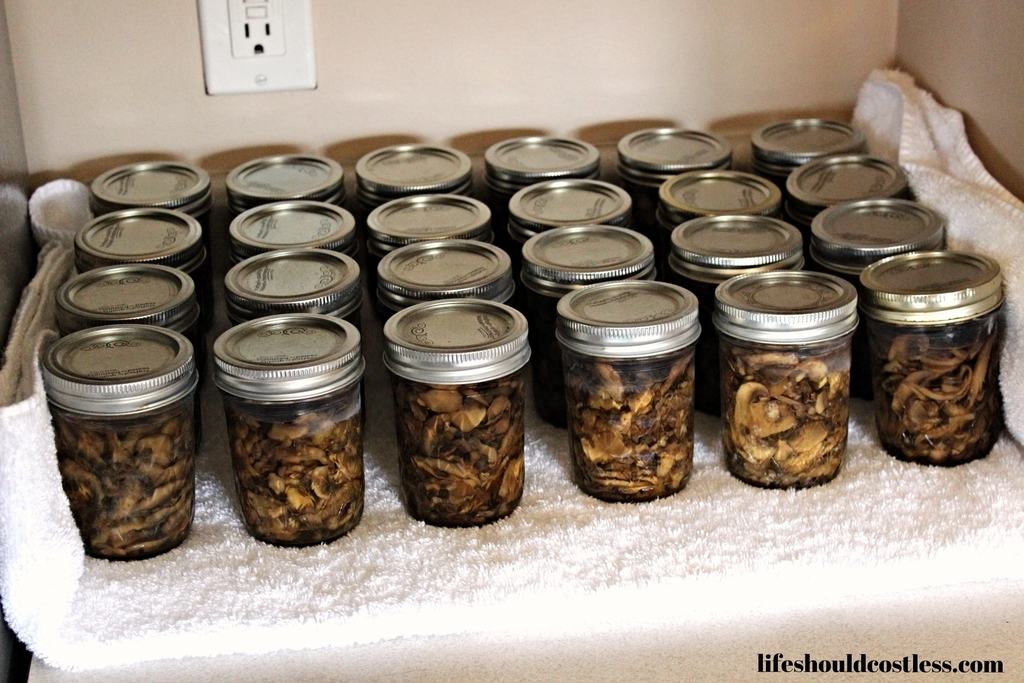
Here are the jars laid out over night. I don’t think there is a more fulfilling sound than the pop you hear that all your work was a success.
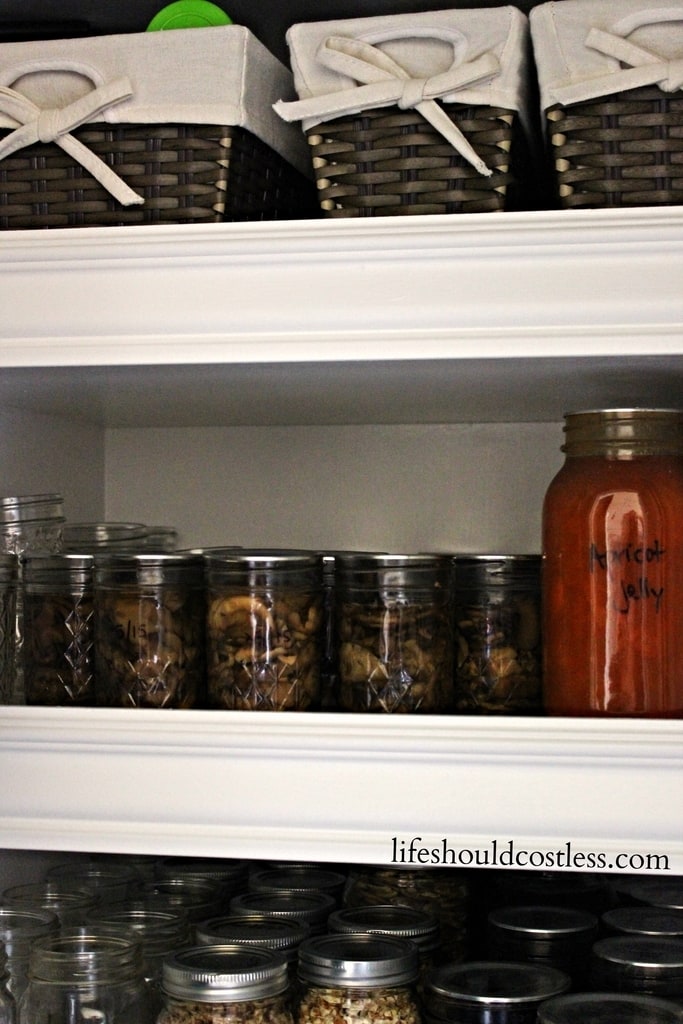
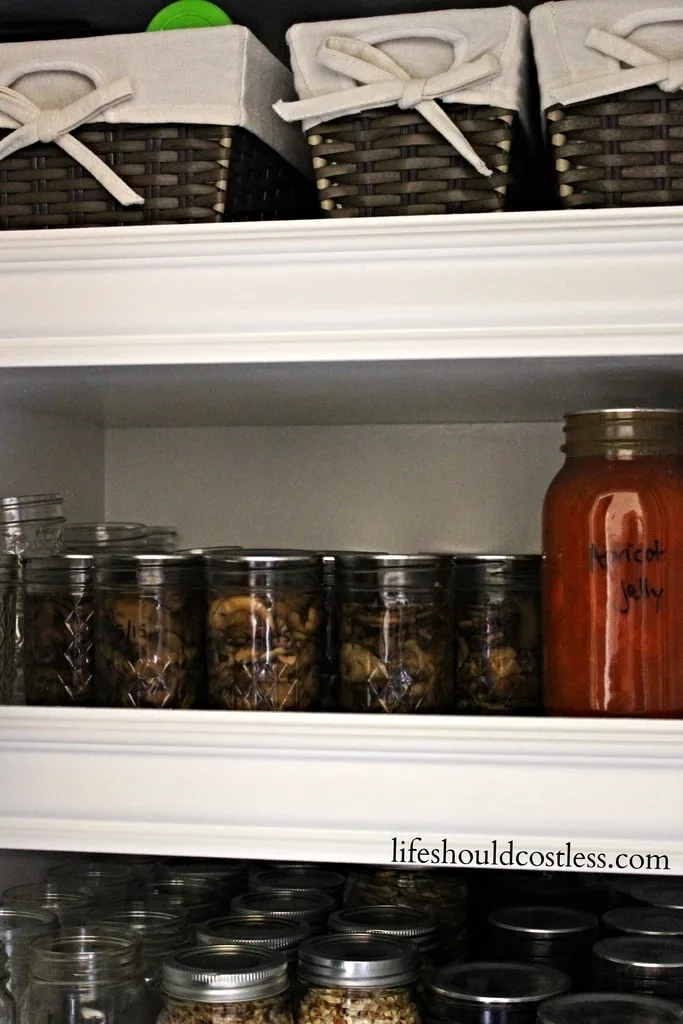
I got them all in my new pretty canning pantry. It’s been so nice having a place dedicated to store everything. I’m working hard to get those empty jars all filled, because why even have them if I’m not going to fill them?
One down-side, I have noticed to canning your own mushrooms is that if I don’t rinse out the used jar immediately, it is super hard to get the mushroom remnants out. Like, the dishwasher will bake it on there and then really your only option is to scrub it out with steel wool. It’s a huge pain in the rear, so I am hoping to save you a ton of work later on by telling you this. Rinse your jars!!!